This post is sponsored by Dremel®. All opinions are my own and I’m happy to work with a company I believe in on an important topic.
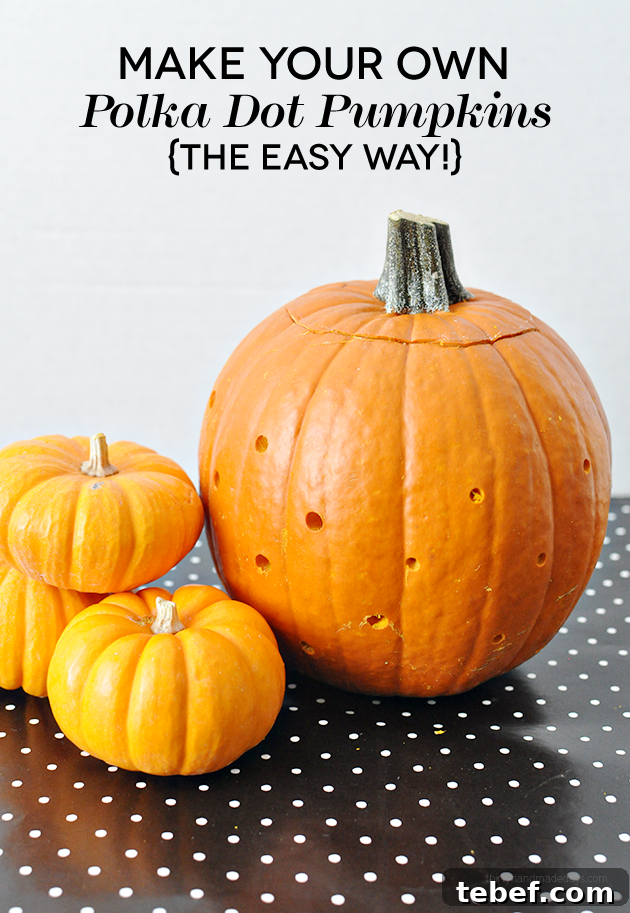
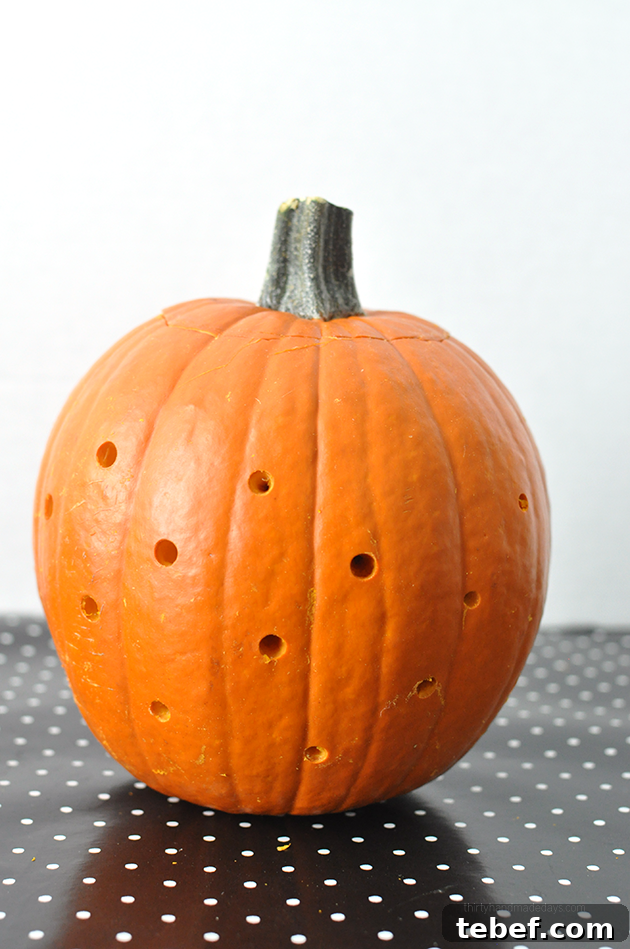
With the change of season I look forward to all things pumpkin most of all (well, sweaters and boots are close behind). I wanted to create a fresh, modern take on the classic pumpkin and ended up with a playful polka dot design that’s simple, stylish, and perfect for fall decorating. Below I’ll walk through the idea, tools, and steps so you can make your own.
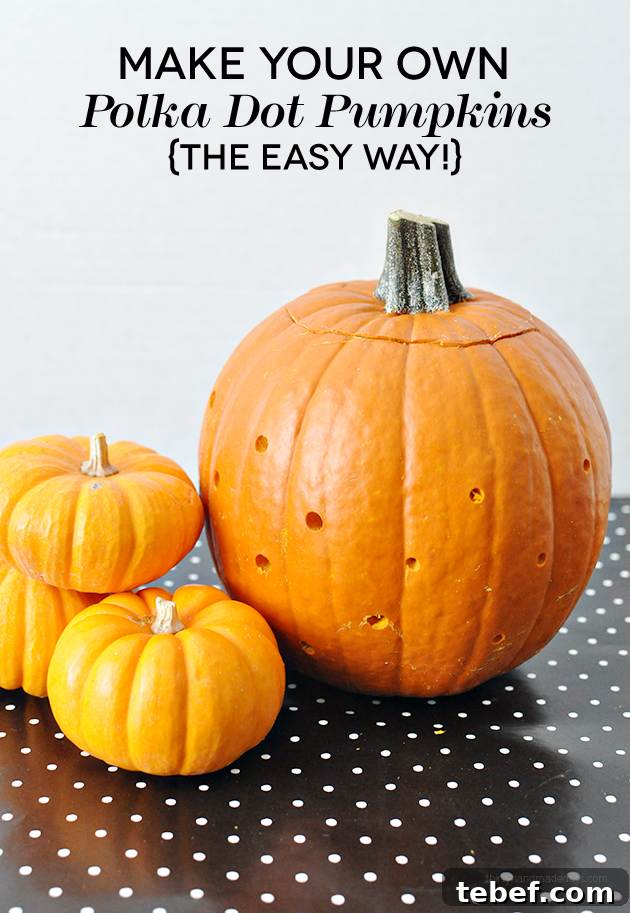
Polka dot pumpkins are a fun alternative to traditional carving. They add a modern, graphic touch to porches, mantels, and tabletops without the mess of intricate carving. For this project I used a cordless rotary tool that cuts, carves, engraves, sands, grinds, sharpens, cleans, and polishes—making it a versatile choice for seasonal crafts and year-round projects. It comes with a variety of bits to handle different tasks and provides the control needed to make evenly sized holes and shapes.
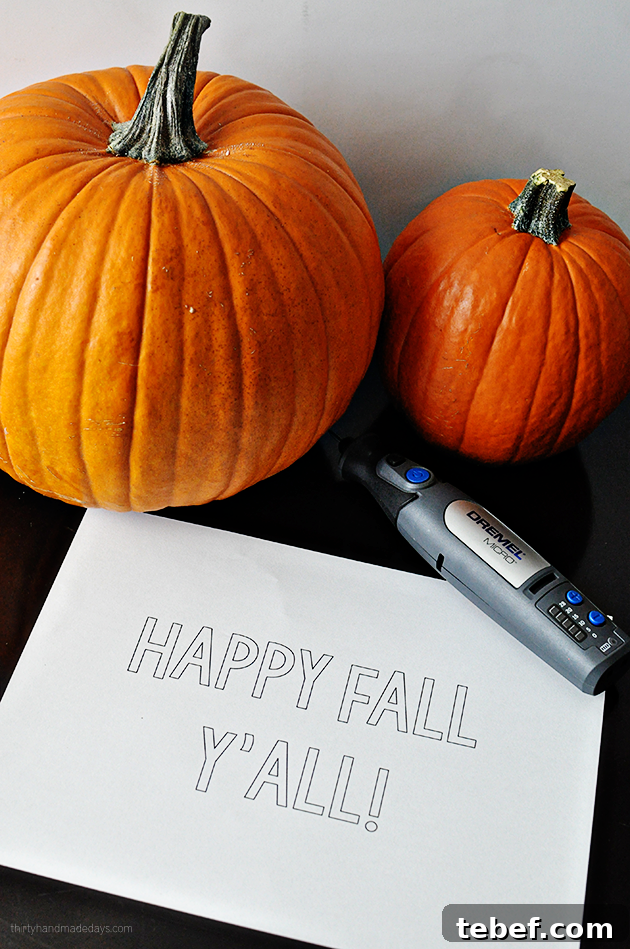
Before you begin, gather the following: a firm pumpkin, a cordless rotary tool with a small drill bit or carving bit, a marker for planning your pattern, a scoop or large spoon for cleaning out the pumpkin, and battery-operated tea lights or a small LED candle for safe illumination. Choose a pumpkin with a surface that’s relatively smooth and free of deep blemishes—the look works best when the dots are evenly spaced across a consistent surface.
Follow these straightforward steps to create your polka dot pumpkin:
- Wipe down the pumpkin to remove dirt and debris so the tool can work smoothly on the surface.
- Cut a lid from the top of the pumpkin and remove the seeds and fibers. If you prefer, cut a hole in the bottom instead to keep the top intact.
- Choose the right rotary bit and make sure it is securely fastened to the tool. A small-to-medium sized round bit works well for consistent holes.
- Lightly mark your dot pattern on the pumpkin with a washable marker or pencil to guide placement. Consider spacing and symmetry for a polished look, or go random for a whimsical effect.
- Hold the pumpkin steady and use the rotary tool to drill through the rind at each marked spot. Apply gentle, controlled pressure and let the tool do the work—move slowly to keep clean circular holes.
- After drilling, wipe away any residue and smooth any rough edges around the holes if desired. Place battery-operated tea lights or LEDs inside the pumpkin to create a soft, safe glow.
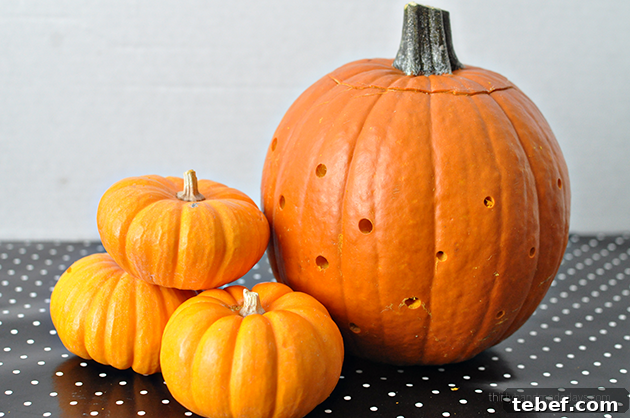
This technique is highly adaptable. In addition to simple polka dots you can use the same tools to create words, silhouettes, or geometric patterns. Try varying hole sizes or combining drilled holes with carved shapes for layered visual interest. Smaller pumpkins work great as clustered tabletop accents, while larger pumpkins can become stylish focal points on porches or stair landings.
Safety tips: Always wear eye protection when using rotary tools, and work in a well-ventilated area. Keep fingers clear of the spinning bit and use gentle pressure to avoid slips. Battery-operated lights are recommended for illuminated displays to eliminate fire risk.
Polka dot pumpkins are a quick, modern craft that brings a fresh look to seasonal décor. With minimal supplies and a reliable rotary tool, you can customize patterns, sizes, and arrangements to suit your style. Try a batch in different colors and finishes for an eye-catching fall display that’s both easy and elegant.