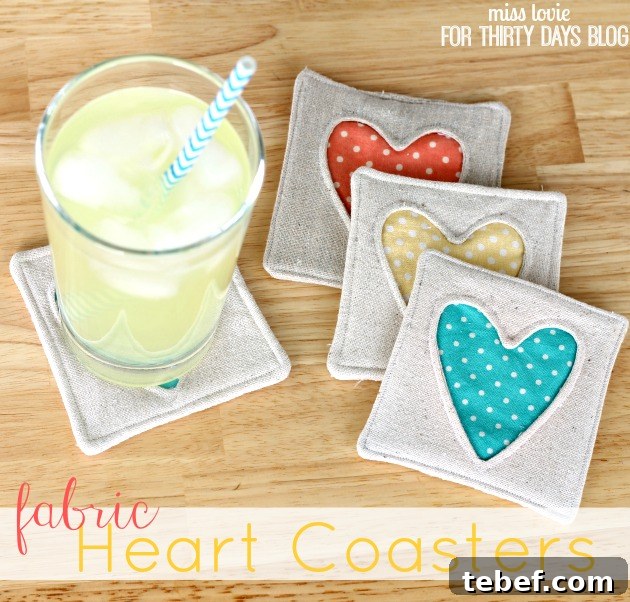
Celebrate Valentine’s Day with these charming and easy-to-make fabric heart coasters—an ideal little gift for moms, sisters, friends, or a thoughtful hostess present any time of year.
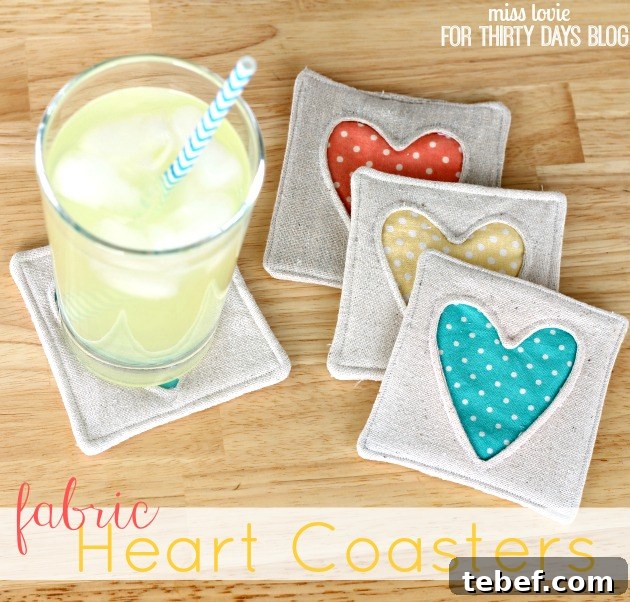
Hello, 30 Days readers! I’m Allie from Miss Lovie, and I’m excited to share a simple sewing tutorial for fabric heart coasters. This project uses an inverse applique technique that works for hearts or any shape you prefer. It’s a terrific scrap-busting idea—I used mostly leftover fabric pieces—so it’s economical and eco-friendly.
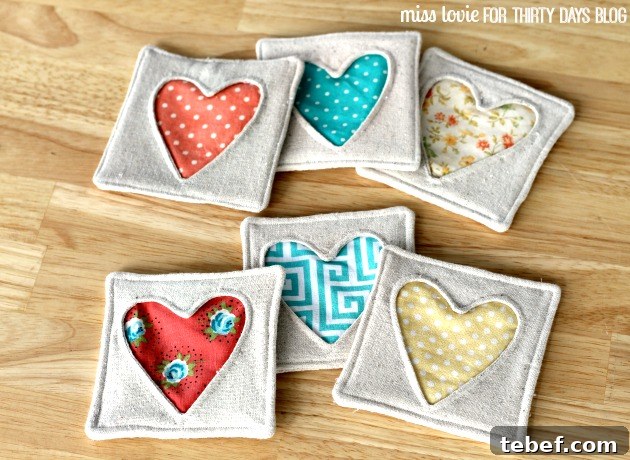
These coasters are quick to make and package beautifully for gifting. Below is a clear, step-by-step guide with photos to help you complete a set with confidence.
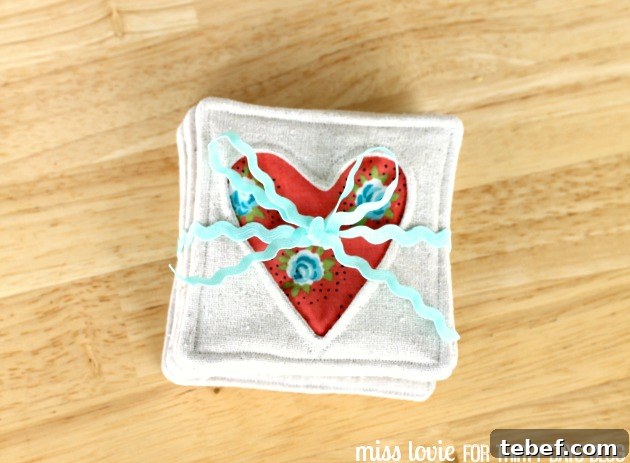
Gather your supplies before you start. For each coaster you will need:
- Three 4.5-inch fabric squares for the main layers (I used a linen-look muslin).
- One 4.5-inch fabric square for the heart insert (contrasting color or print).
- One 4.5-inch square of low-loft cotton batting.
- A heart template, coordinating thread, a fabric marking pen (optional), and a needle for hand finishing.
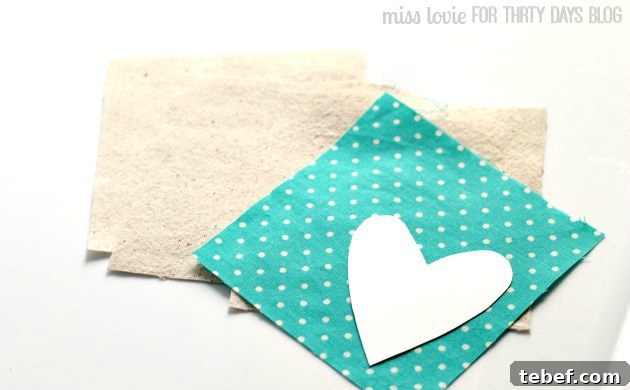
Prewash and press your fabric before cutting for the best results. Trace a heart shape in the center of one of the muslin squares. You can use a removable marker, but it isn’t critical because the marking will be hidden inside the seam after turning.
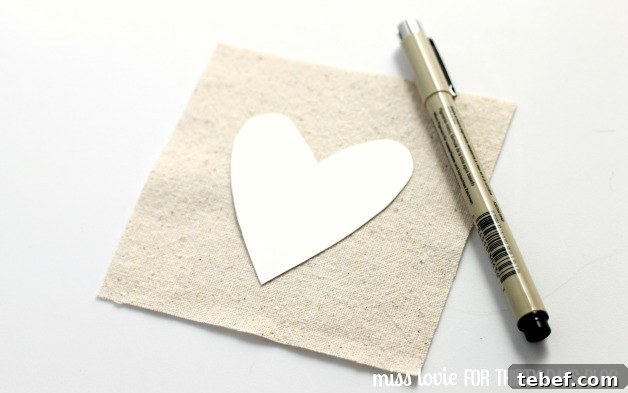
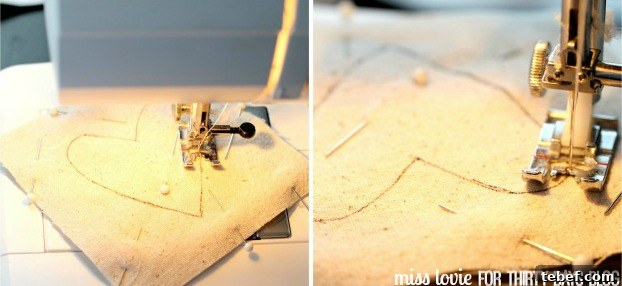
Pin a second muslin square to the marked one, right sides together. Using a short stitch length (1–2), sew directly on the heart line. Start by stitching in a straight line for easy backstitching, then pivot around the curves: leave the needle down, lift the presser foot, rotate the fabric, and continue sewing. Take your time to keep the presser foot red guide aligned with the drawn line for a smooth shape. Backstitch to secure the beginning and end of your stitching.
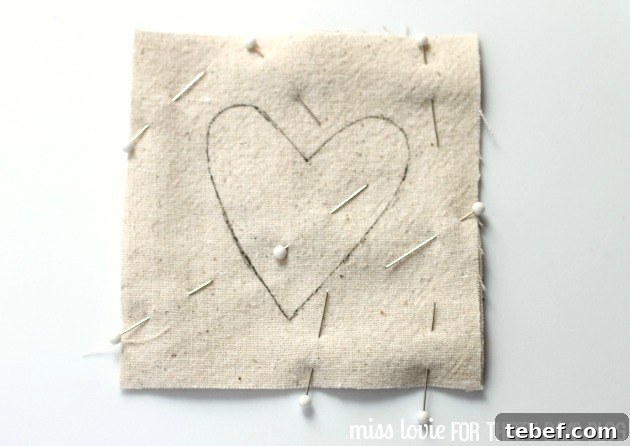
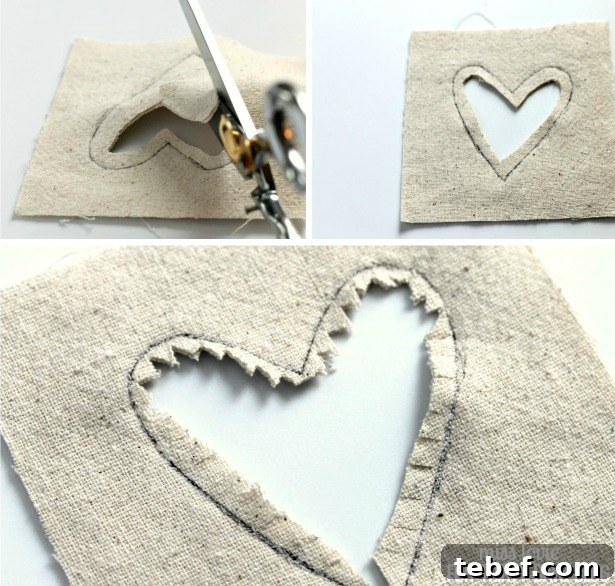
Cut out the heart center through both layers, leaving a small seam allowance beside the stitched line. Clip and notch the curves so the fabric will turn smoothly—tiny triangles cut with regular fabric scissors work well for precise shaping.
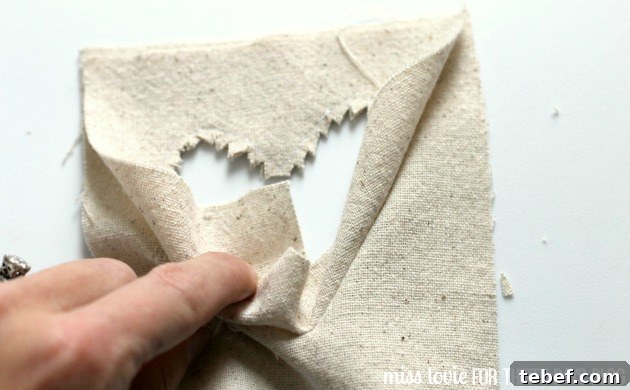
Now turn one of the layers inside out through the heart opening so the seam is hidden and the heart edge is exposed. Use a turning tool or a blunt pencil to gently push out the top point and smooth the curves. Press the seam allowance flat so the heart edge lies neatly against the backing layer.
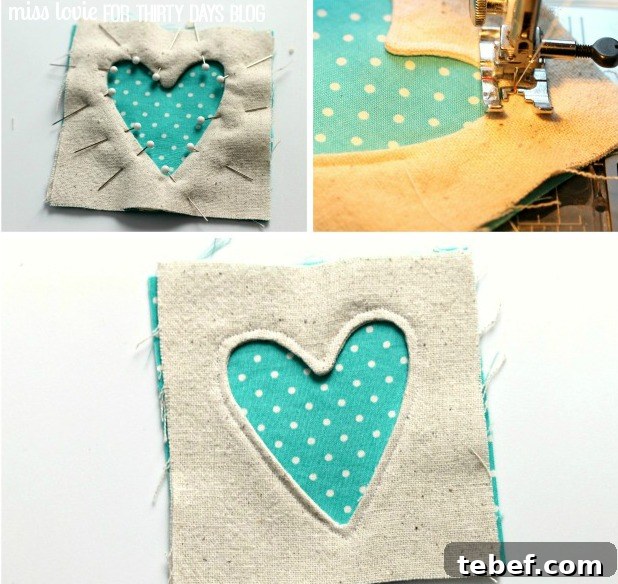
Place the heart fabric square behind the opened heart and pin it in place. Topstitch around the heart shape to secure the insert. This creates the decorative heart detail on the top layer of your coaster.
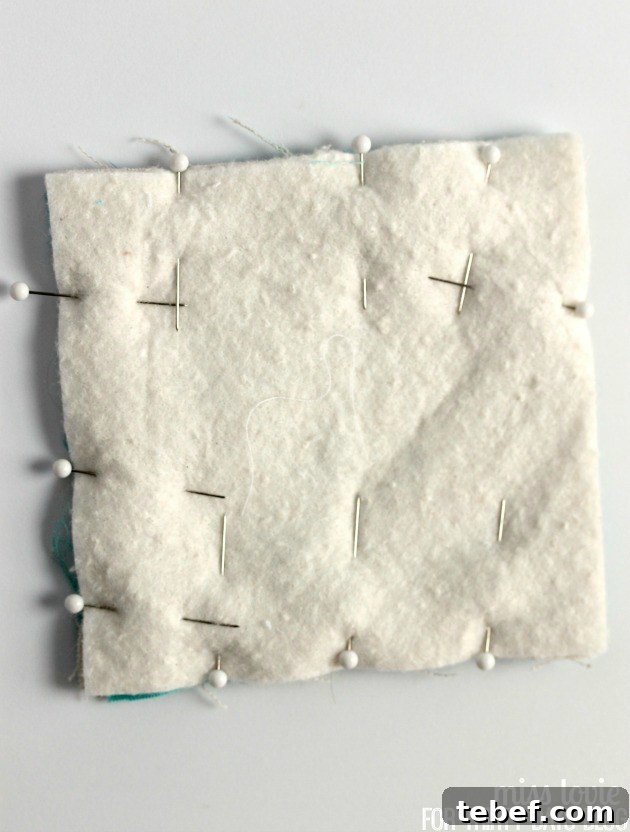
To finish the coaster, layer the last muslin square behind the completed top (right sides together so the heart faces the inner muslin), then place the batting on top and pin all three layers. Sew around the edge with a 1/2-inch seam allowance, leaving a 2-inch opening for turning. Trim the seam allowance with pinking shears or clip the corners to reduce bulk and ensure crisp corners.
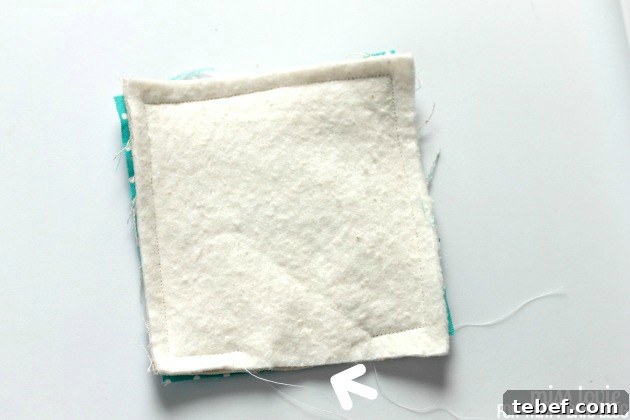
Turn the coaster right side out through the opening, using your turning tool to push out the corners. Press the edges well, folding the opening seam allowance inward so it lines up neatly. Close the opening with a small whip stitch by hand, then topstitch around the entire coaster about 1/4 inch from the edge for a finished look.
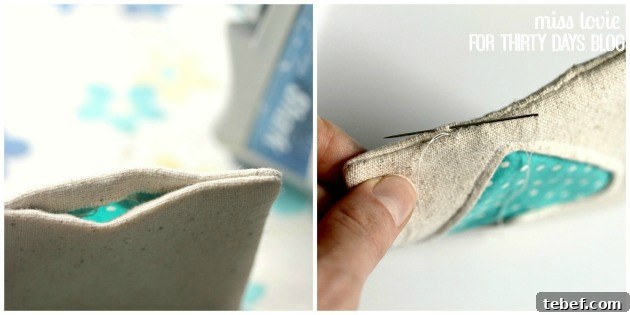
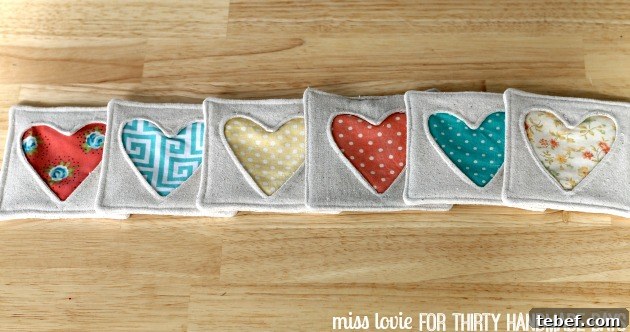
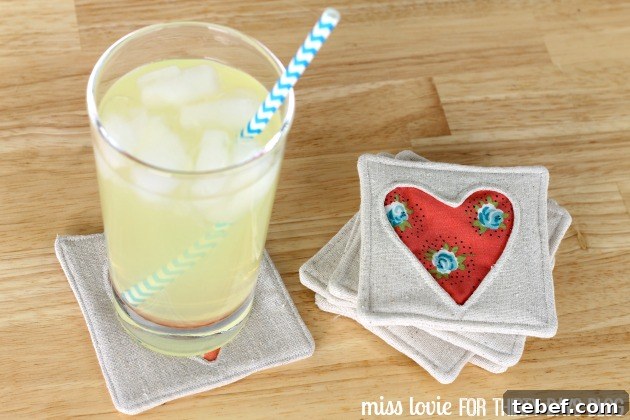
Once you’ve cut and prepped the fabric pieces, you can sew a full set quickly. Stack several finished coasters and tie them with a ribbon for an attractive gift, or keep them for yourself—these are stylish and durable for everyday use.
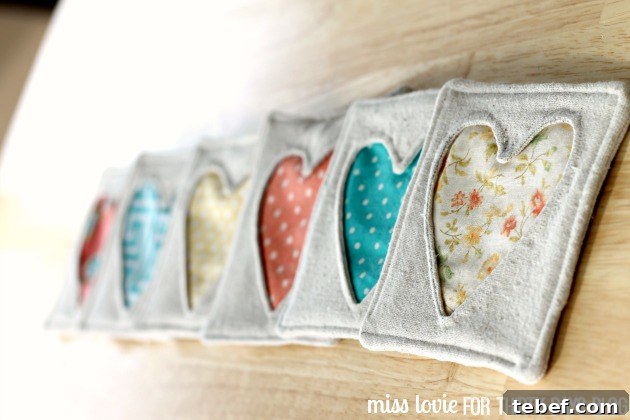
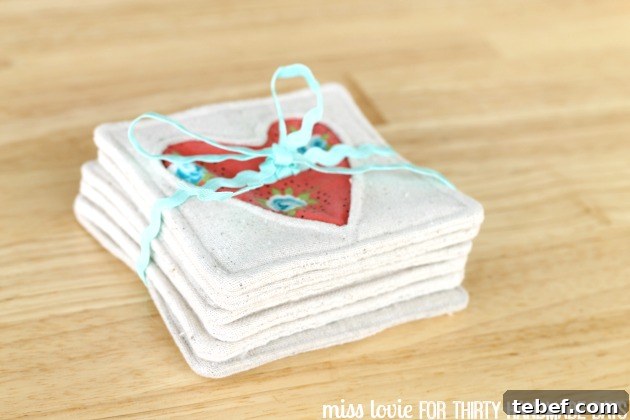
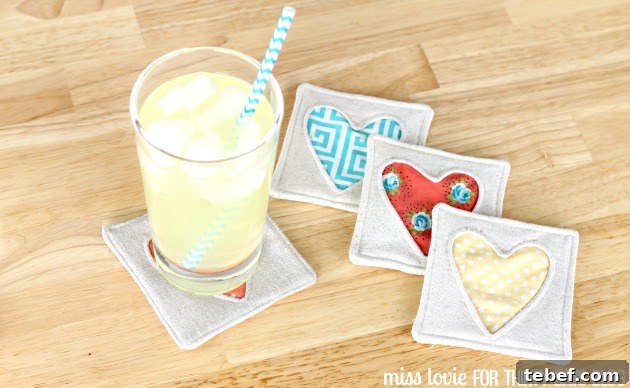
These fabric heart coasters are a great beginner-friendly sewing project that makes a thoughtful handmade gift. Enjoy making them with your favorite fabric scraps, and pair them with a pitcher of lemonade or a special beverage to brighten someone’s day.
Thank you for reading! Visit Miss Lovie for more Valentine’s Day and heart-themed craft ideas and tutorials.