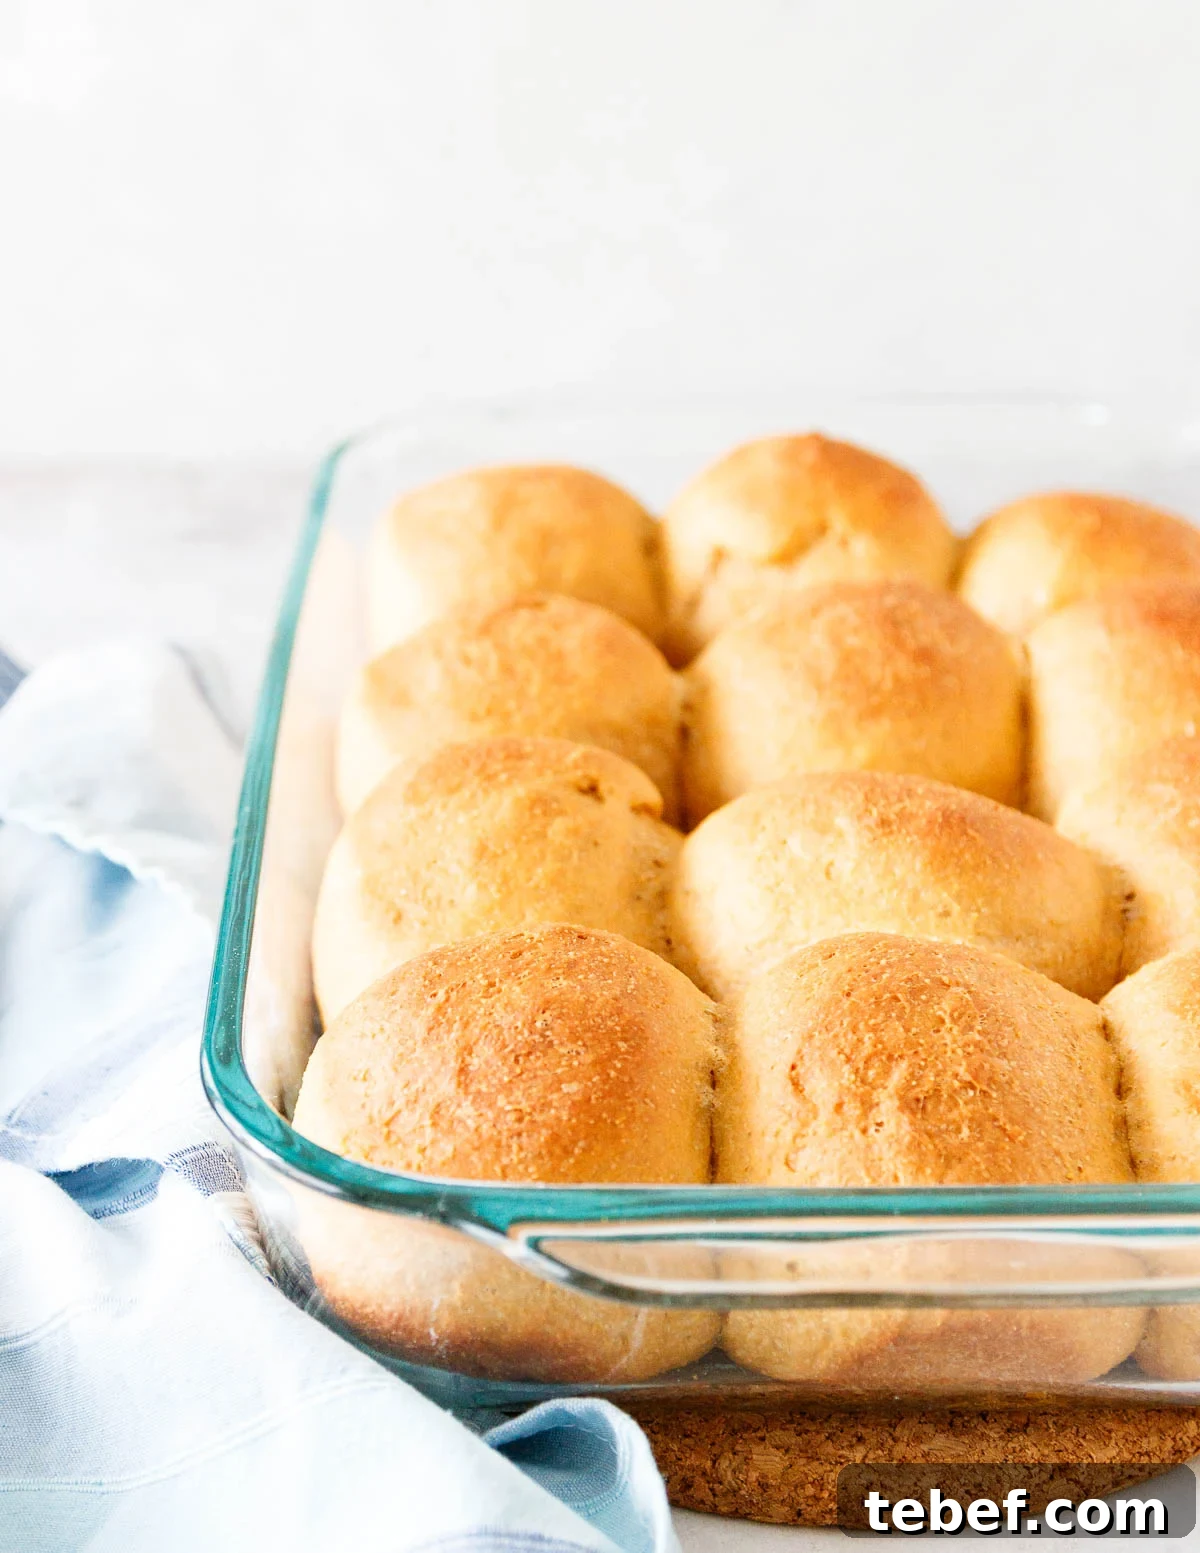
Sweet and savory with a rich texture from molasses and cornmeal, anadama bread is a delightful classic. These fluffy anadama rolls are ideal with soups and stews, for dipping into fried eggs, or for picnic sandwiches.
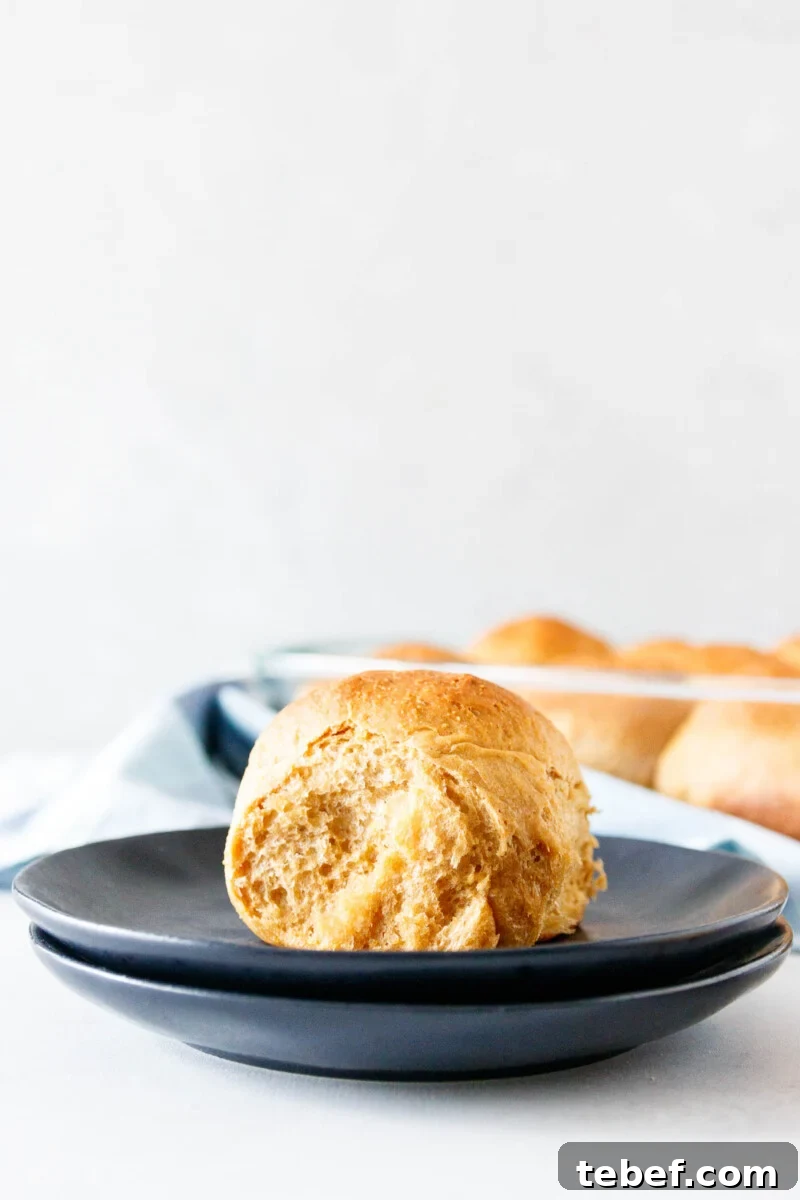
Old cookbooks often hide treasures. I have a vintage baking book that I periodically rescue from the donation pile. While some recipes are outdated, others are gems—this anadama roll recipe is one of them.
The original recipe called for loaves, listed as making two loaves, but those loaves turned out small in modern pans. Rather than force the pan sizes, I adapted the recipe into rolls, which we preferred. The rolls retain the bread’s unique texture and flavor and make excellent picnic-sized sandwiches: one is enough for a light eater, two for someone hungrier.
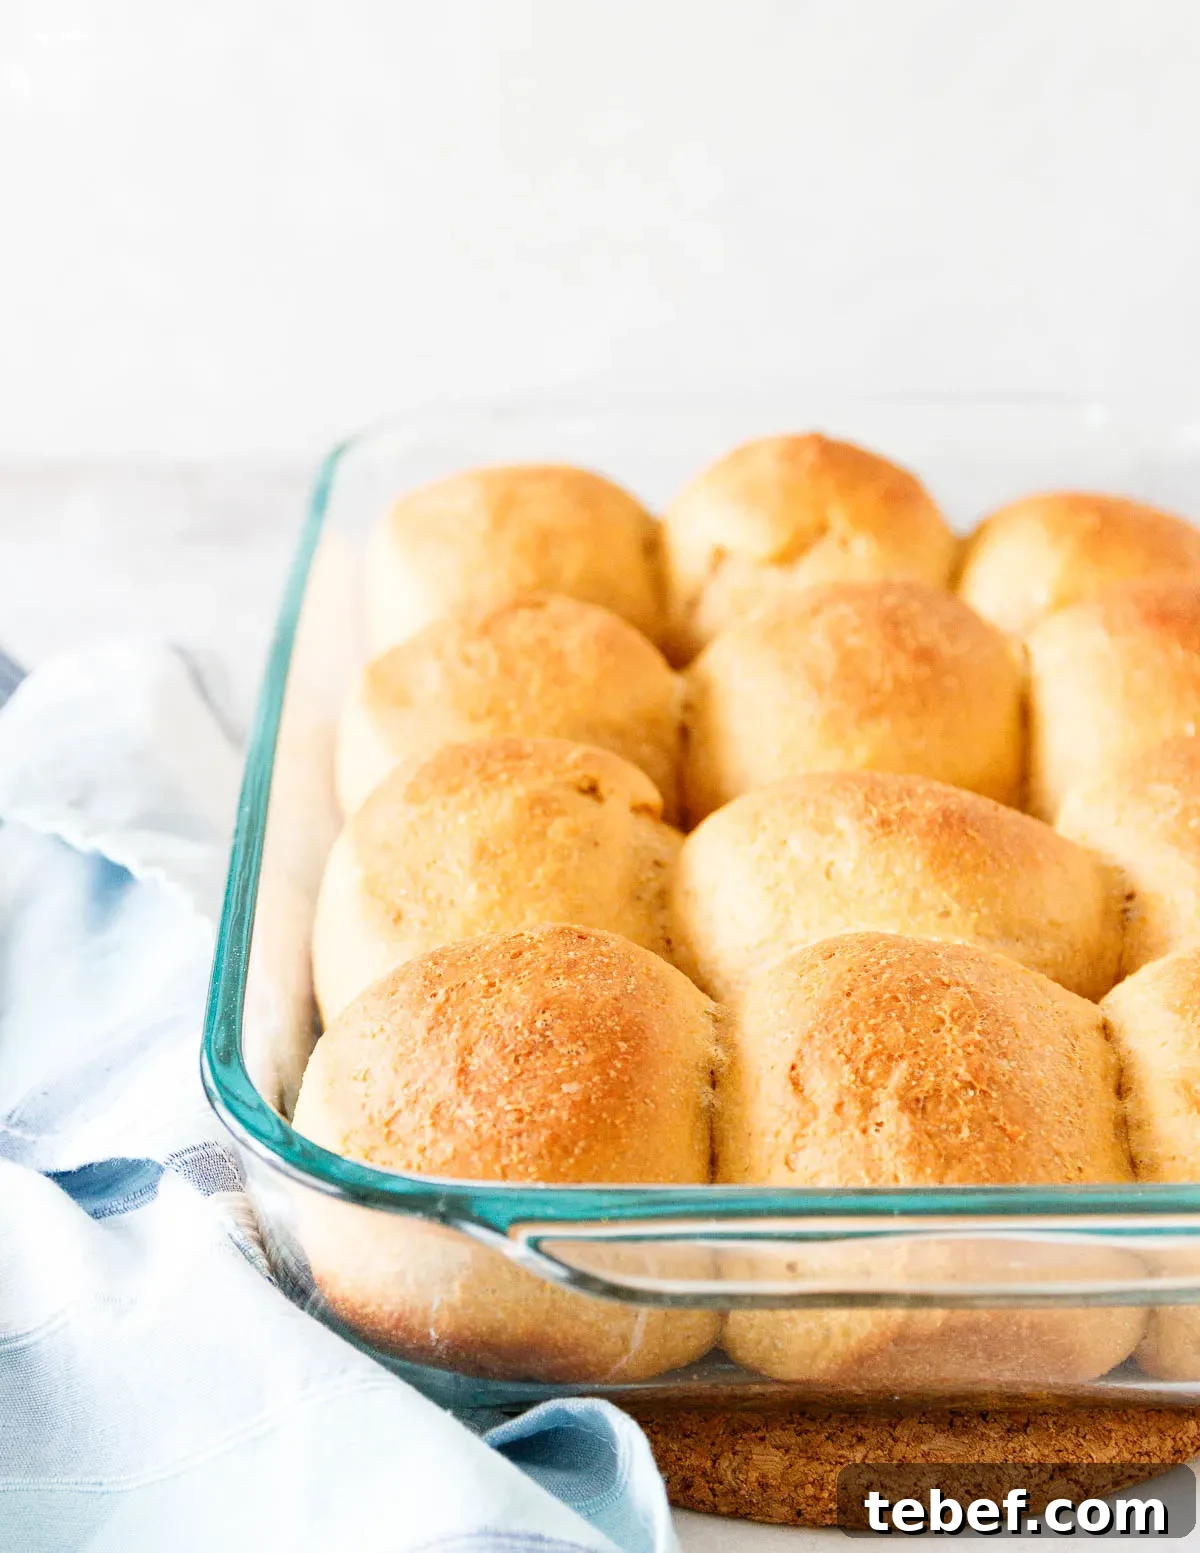
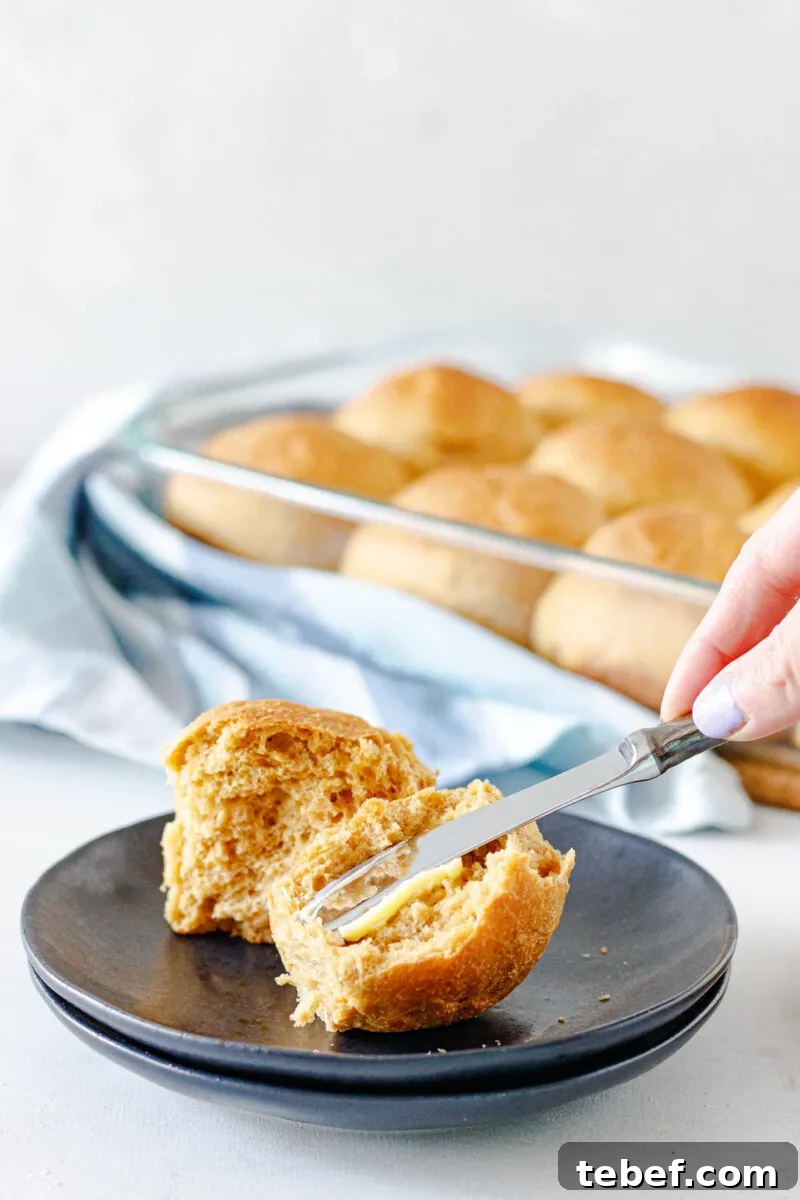
I included many photos in the original post because they’re helpful for each step and, frankly, they’re beautiful—look at that crumb! Fresh-baked bread is irresistible.
What is anadama bread?
Anadama bread is a brown bread that originated in New England, particularly associated with Rockport, Massachusetts. It became popular in the region in the early 1900s when a local bakery produced and delivered bread by horse-drawn cart and later by a larger factory. The factory closed in the 1970s, but the recipe remained a regional favorite.
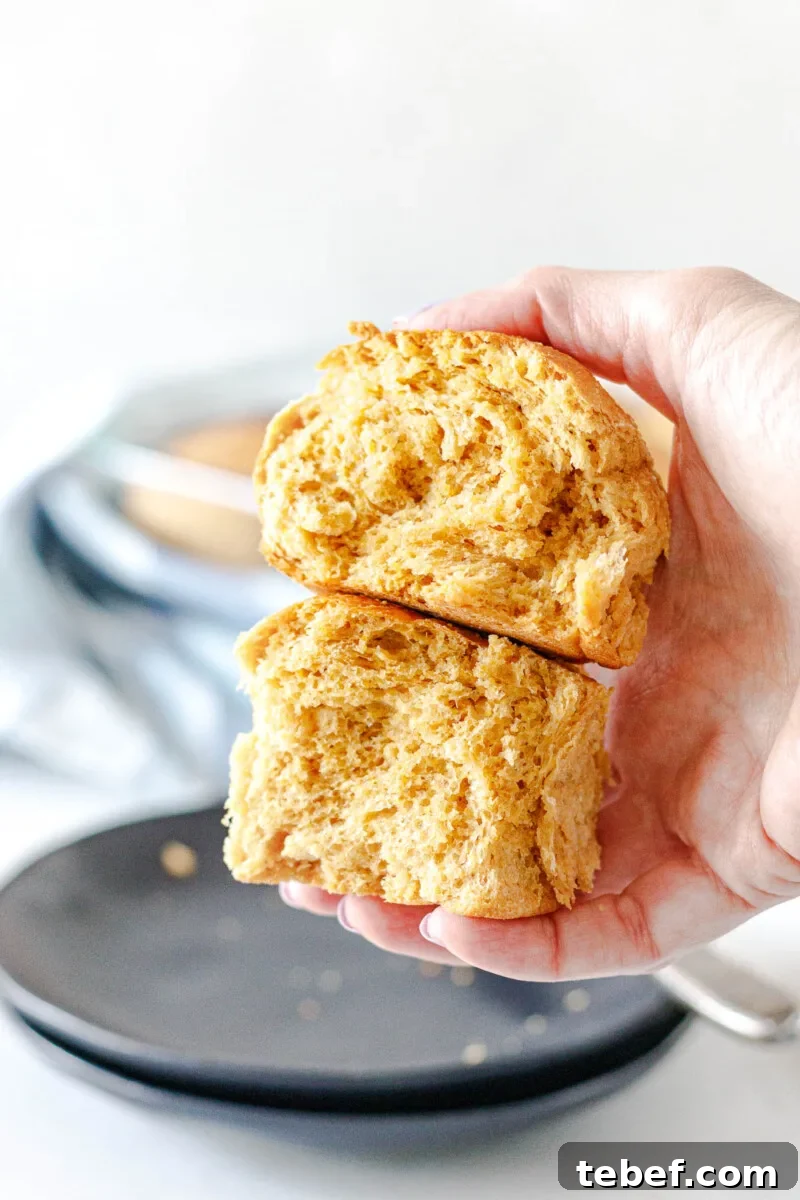
This regional American bread is comforting and versatile, and I’m happy to share this version of the recipe.
What does anadama bread taste like?
Anadama’s main flavors come from cornmeal and molasses, combined with flour and water. Some versions include rye flour, but this recipe follows the original and skips rye. The result is a bread that’s mildly sweet but not a dessert: it’s savory-sweet with a nutty cornmeal depth and a rich, molasses-backed sweetness.
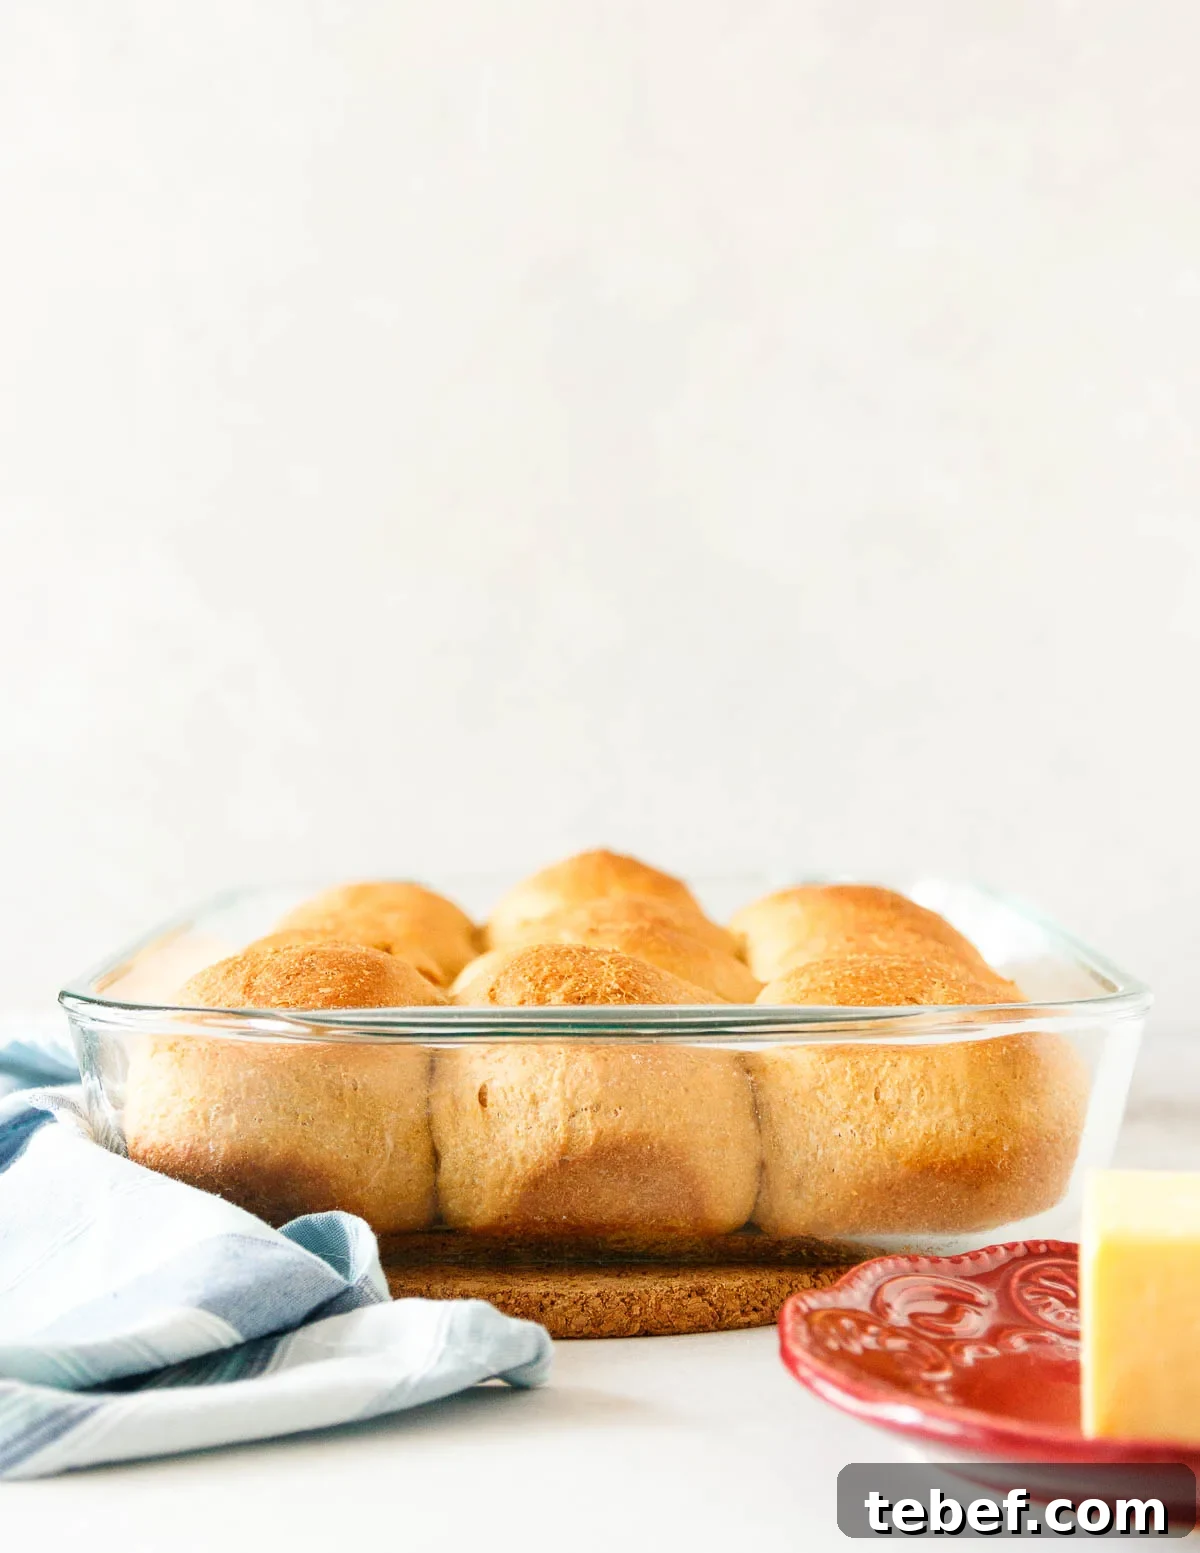
If you’ve had the slightly sweet brown bread served at some chain restaurants, anadama is similar but more complex thanks to the cornmeal and molasses.
Where did the name come from?
Legend says a frustrated fisherman, tired of cornmeal and molasses for dinner, cursed “Anna, damn her!” as someone named Anna mixed in flour and yeast. The name stuck—whether true or not, it’s a memorable origin story.
Recipe tips for anadama rolls
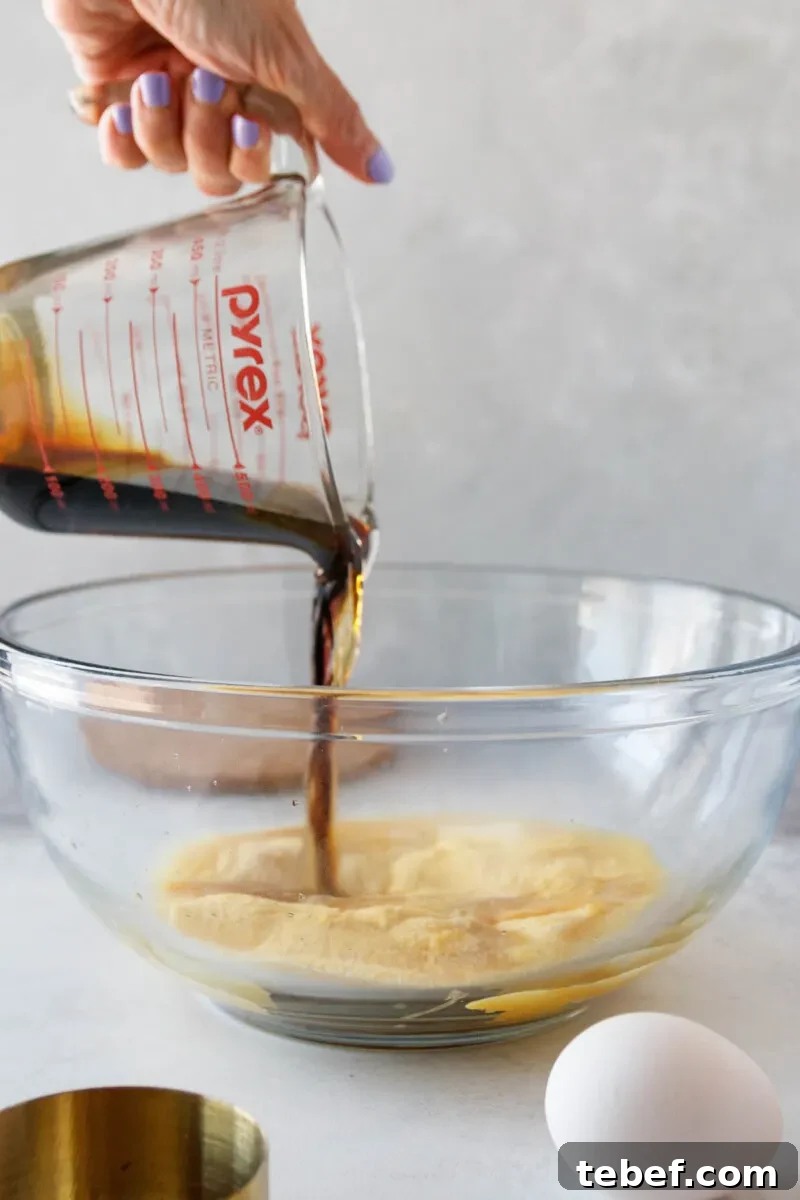
Measure ingredients before you start. You’ll add hot liquid to the cornmeal, which puffs and is easier to stir while warm. Because the dough is warm, add flour gradually during kneading—too much flour makes dense rolls, too little leaves a sticky dough. Aim for a smooth, elastic dough.
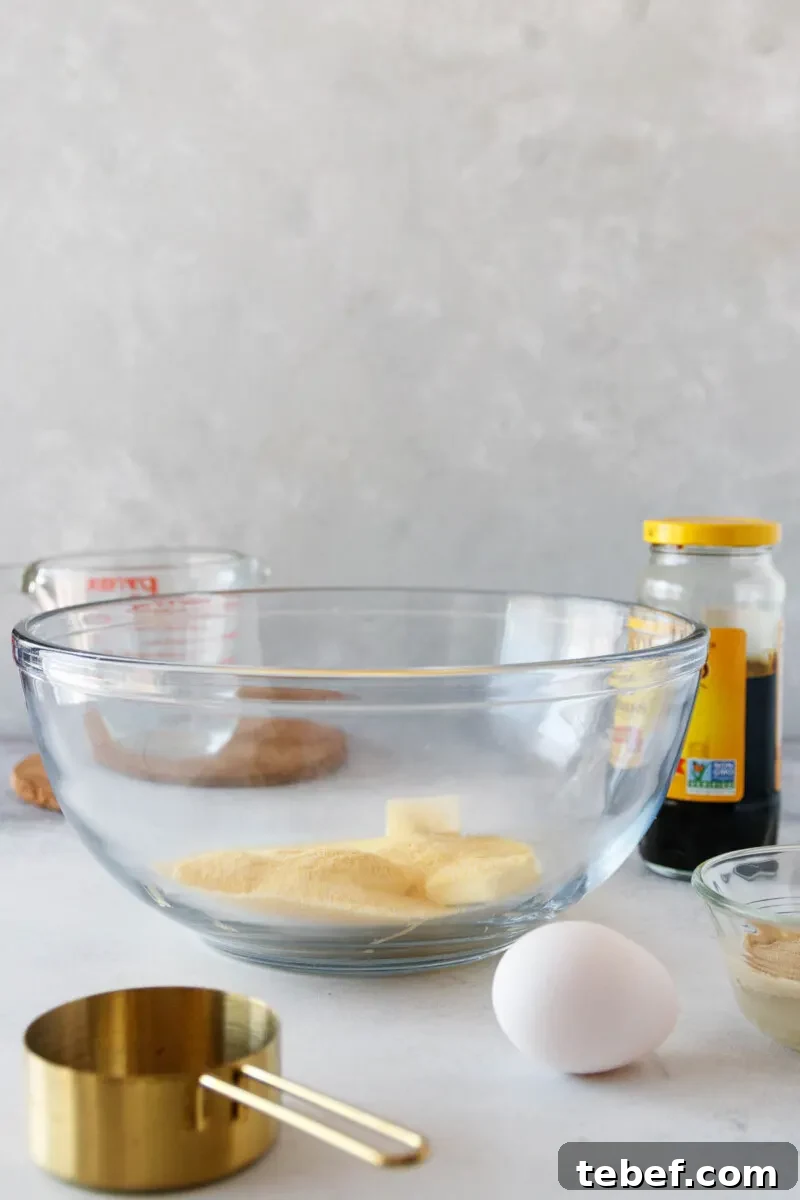
Use regular dark molasses, not blackstrap, which is too strong and will overpower the bread’s balance.
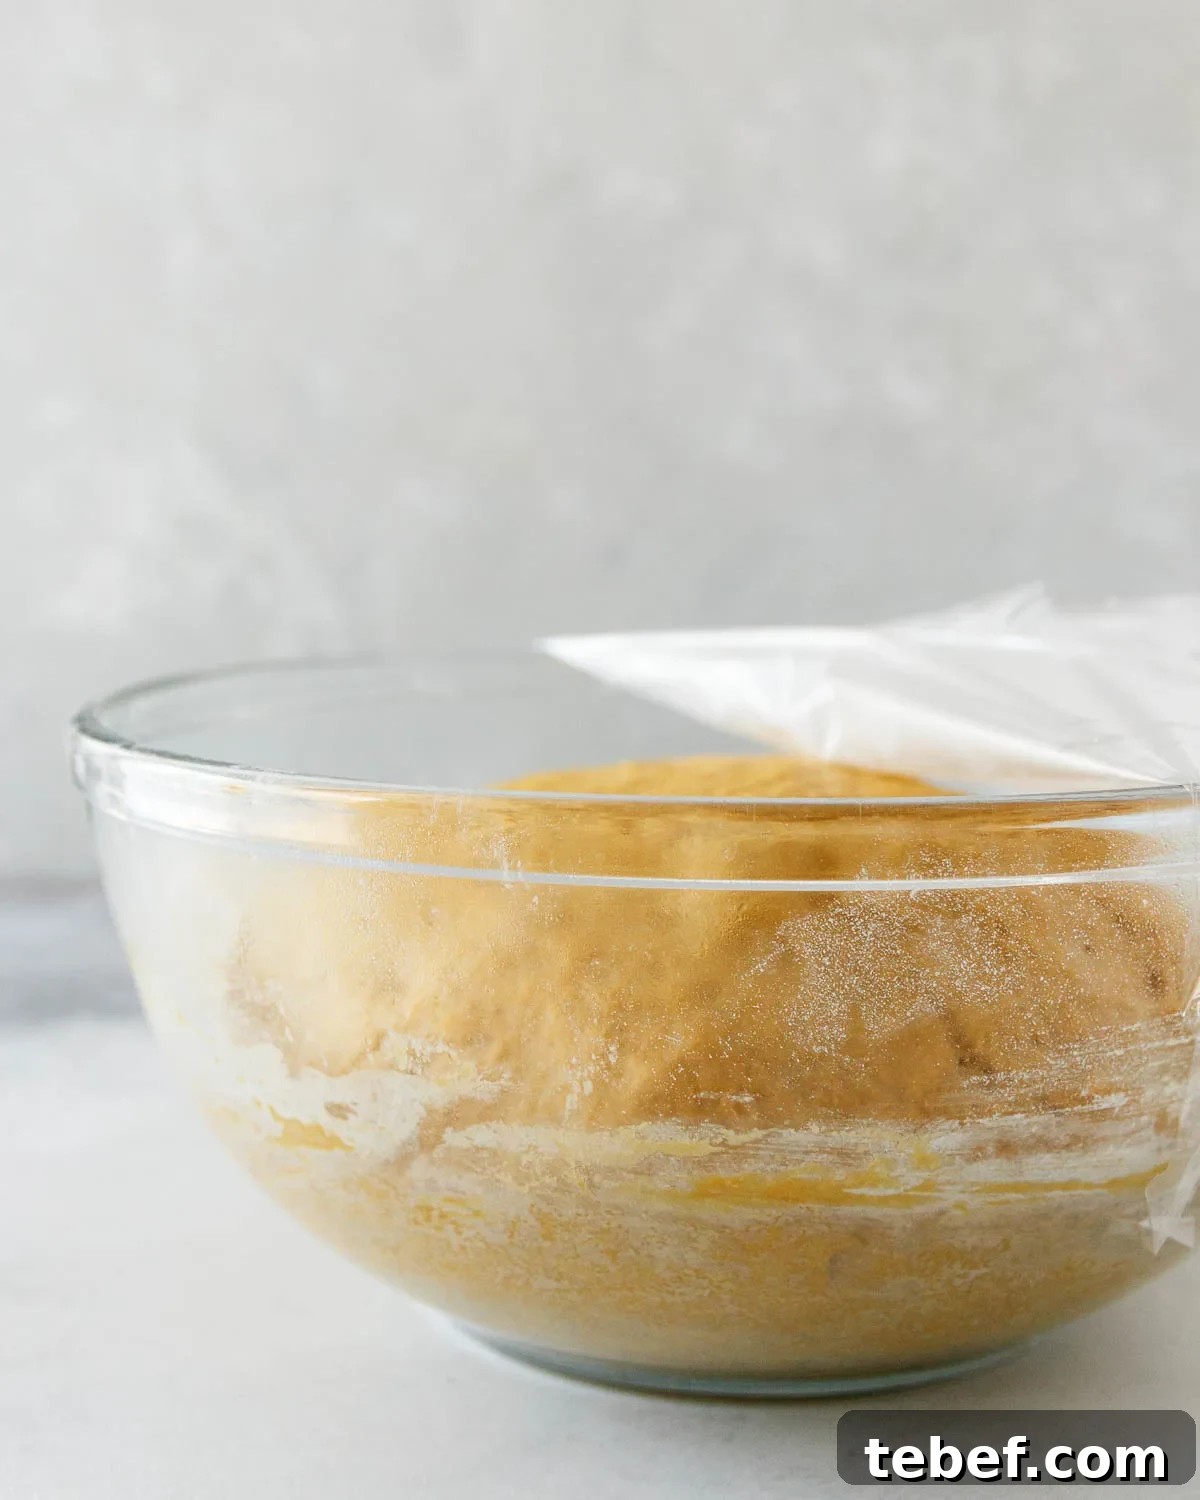
If your kitchen is cool, proof the dough in the oven with just the oven light on to create a warm, draft-free space. A kitchen scale helps divide dough into even rolls—dinner rolls typically weigh 50–70 grams; the ones pictured are about 70 grams each and are large enough for sandwiches.
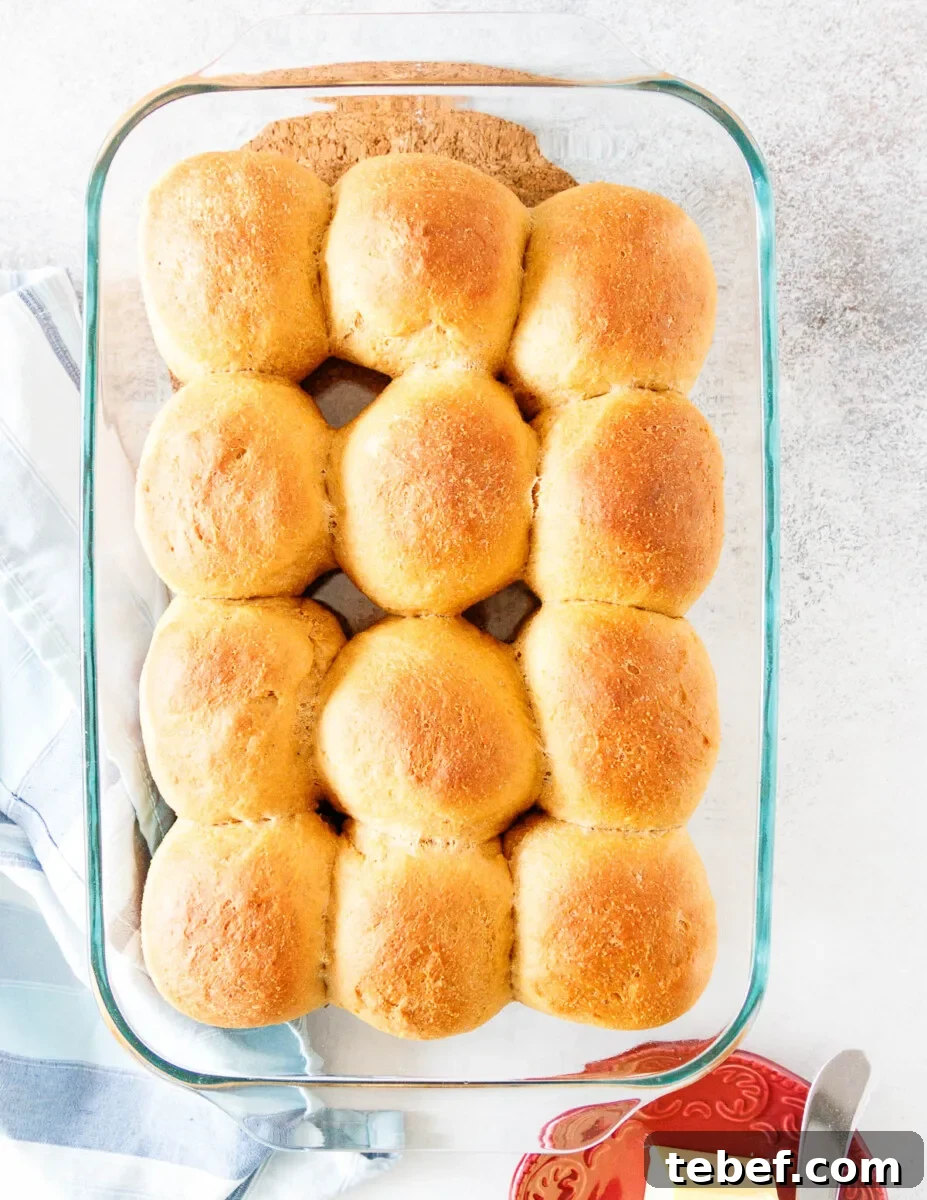
Because these rolls are already brown from molasses, don’t rely on color to judge doneness. Listen for a slightly hollow sound when tapping the top of a roll or use an instant-read thermometer—170°F internal indicates they’re done. Remove them promptly; bread continues to cook as it cools, and pulling them from the oven as soon as they’re ready prevents overbaking.
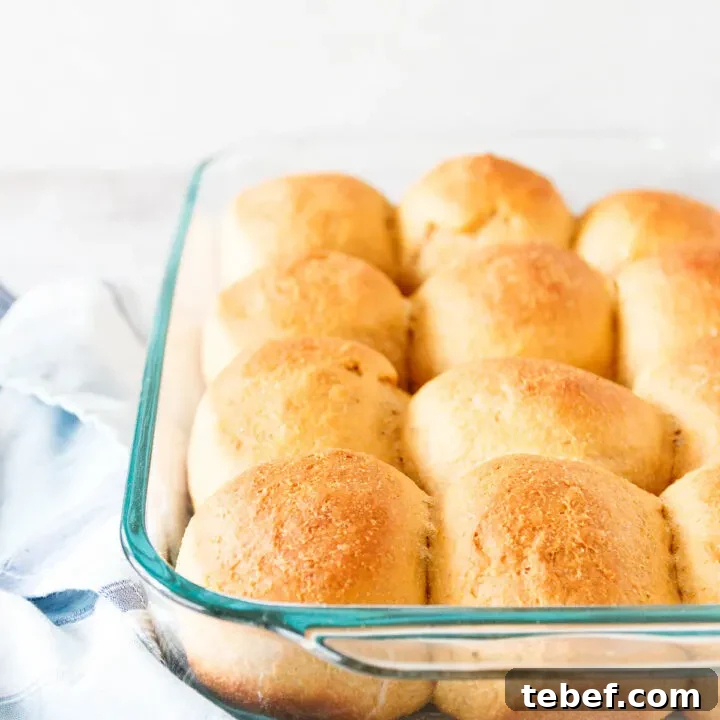
Cool the rolls before storing. They’re delicious warm, but don’t seal warm rolls in plastic or a breadbox—wait until they’ve fully cooled. Stored in an airtight container, cooled rolls keep for about three days at room temperature or up to two months frozen. Reheat gently in the microwave in short intervals or in a toaster oven.
What to eat with anadama rolls
Anadama rolls are versatile. They pair well with many dishes; here are favorite ways to enjoy them:
- With dippy eggs—sunny side up or over-easy for dipping
- As sandwich rolls for chicken salad
- Alongside smoked turkey or roasted meats
- Served with chili, soups, or stews
Enjoy baking these anadama rolls—soft, slightly sweet, and full of comforting flavor. Happy baking!
Anadama Rolls {Anadama Bread Recipe}
12
10 minutes
30 minutes
1 hour 30 minutes
2 hours 10 minutes
Sweet and savory with a rich texture thanks to molasses and cornmeal, anadama bread will be a new favorite.
Ingredients
- 1 package active dry yeast (2 1/4 teaspoons)
- 1/4 cup lukewarm water
- 1/4 cup cornmeal
- 3 tablespoons unsalted butter
- 1/4 cup molasses
- 3/4 cup boiling water
- 1 large egg
- 3–3 1/2 cups all-purpose flour
- 2 teaspoons salt
Instructions
- Mix the yeast with 1/4 cup lukewarm water in a small bowl and set aside for 5–10 minutes to activate.
- Measure the cornmeal into a large mixing bowl or the bowl of a stand mixer. If using a mixer, start with the paddle attachment.
- Heat 3/4 cup water until boiling, then carefully stir in the butter and molasses.
- Pour the hot molasses mixture over the cornmeal and stir. When the mixture is warm (not hot), add the activated yeast and water, the egg, and 1 1/2 cups of flour; stir to combine.
- Add the salt and another 1 1/2 cups of flour. If using a mixer, switch to the dough hook now.
- Knead by hand or on low speed for 3–5 minutes until smooth and elastic. Add flour 1 tablespoon at a time only if needed; add water 1 teaspoon at a time if too dry.
- Spray the mixing bowl lightly with nonstick spray or oil, return the dough to the bowl, cover, and let rise in a warm, draft-free spot until doubled, about 45–60 minutes.
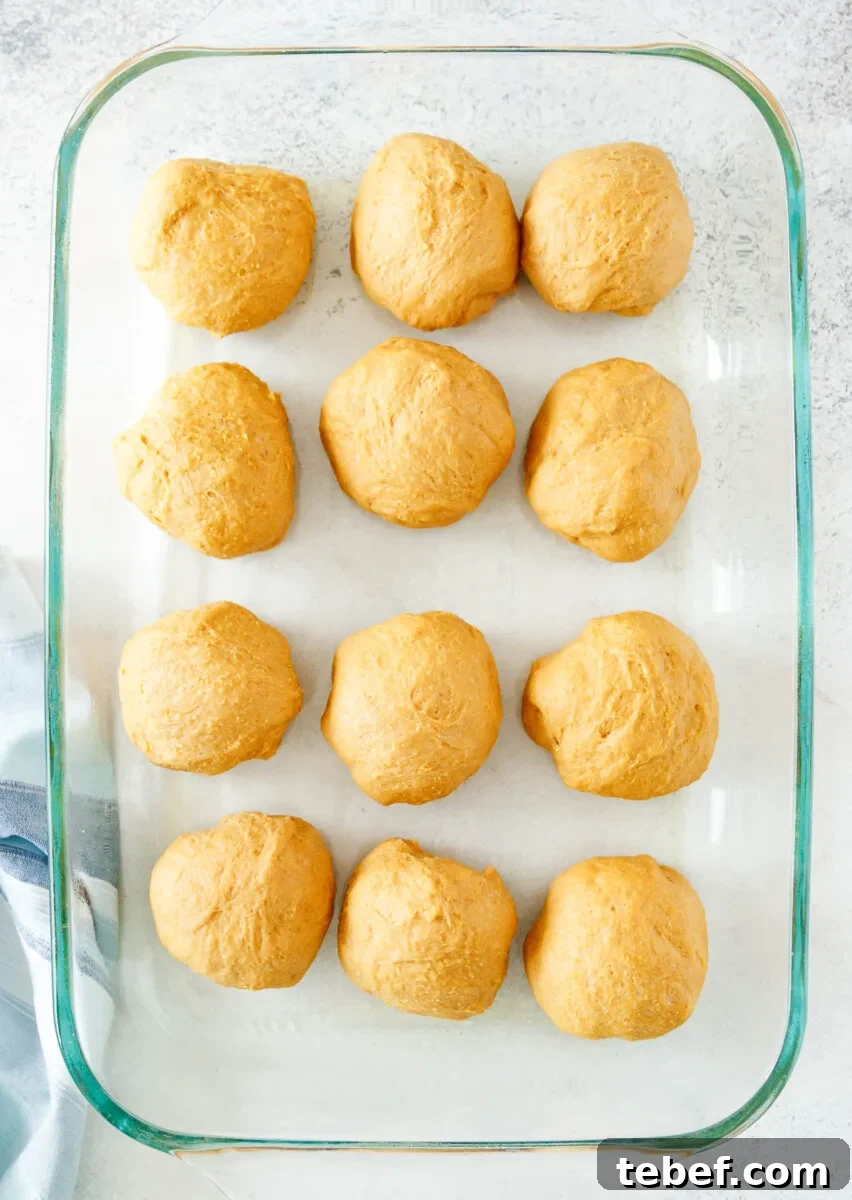
- Punch down the dough and transfer to a lightly floured surface. Divide into 12 equal pieces (a kitchen scale helps).
- Grease an 11×13-inch baking dish and arrange rolls in four rows of three. For separate rolls, place them on a parchment-lined sheet with at least 2 inches between each.
- Cover the rolls and let rise again for 30 minutes until puffy.
- Preheat oven to 375°F and bake 30–35 minutes until fragrant and slightly hollow-sounding when tapped, or until internal temperature reaches 170°F.
- Remove from oven and cool at least 10 minutes before serving. Fully cooled rolls can be stored in an airtight container for three days or frozen for up to two months.
Notes
- I often mix this dough in a large glass bowl by hand, stirring until it comes together and then kneading on a lightly floured surface.
Recommended Products
As an Amazon Associate and member of other affiliate programs, I earn from qualifying purchases.
-
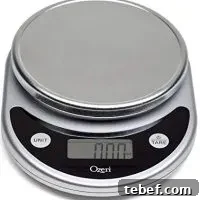
 Ozeri ZK14-S Pronto Digital Kitchen Scale
 -
Pyrex 2-Cup Measuring Cup
-
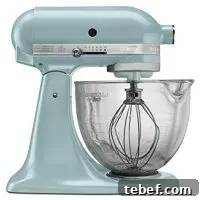
KitchenAid Artisan 5-Qt. Mixer with Glass Bowl
Nutrition Information:
Yield: 12
Serving Size: 1
Amount Per Serving:
Calories: 460Total Fat: 4gSaturated Fat: 2gTrans Fat: 0gUnsaturated Fat: 2gCholesterol: 23mgSodium: 365mgCarbohydrates: 91gFiber: 3gSugar: 6gProtein: 12g
These nutrition values are estimates and will vary by ingredients and quantities used.
Did this recipe inspire you?
Please leave a comment on the blog or share a photo on Instagram.